Showing posts with label Circle Framelets. Show all posts

Monday, 17 March 2014

Wetlands returned

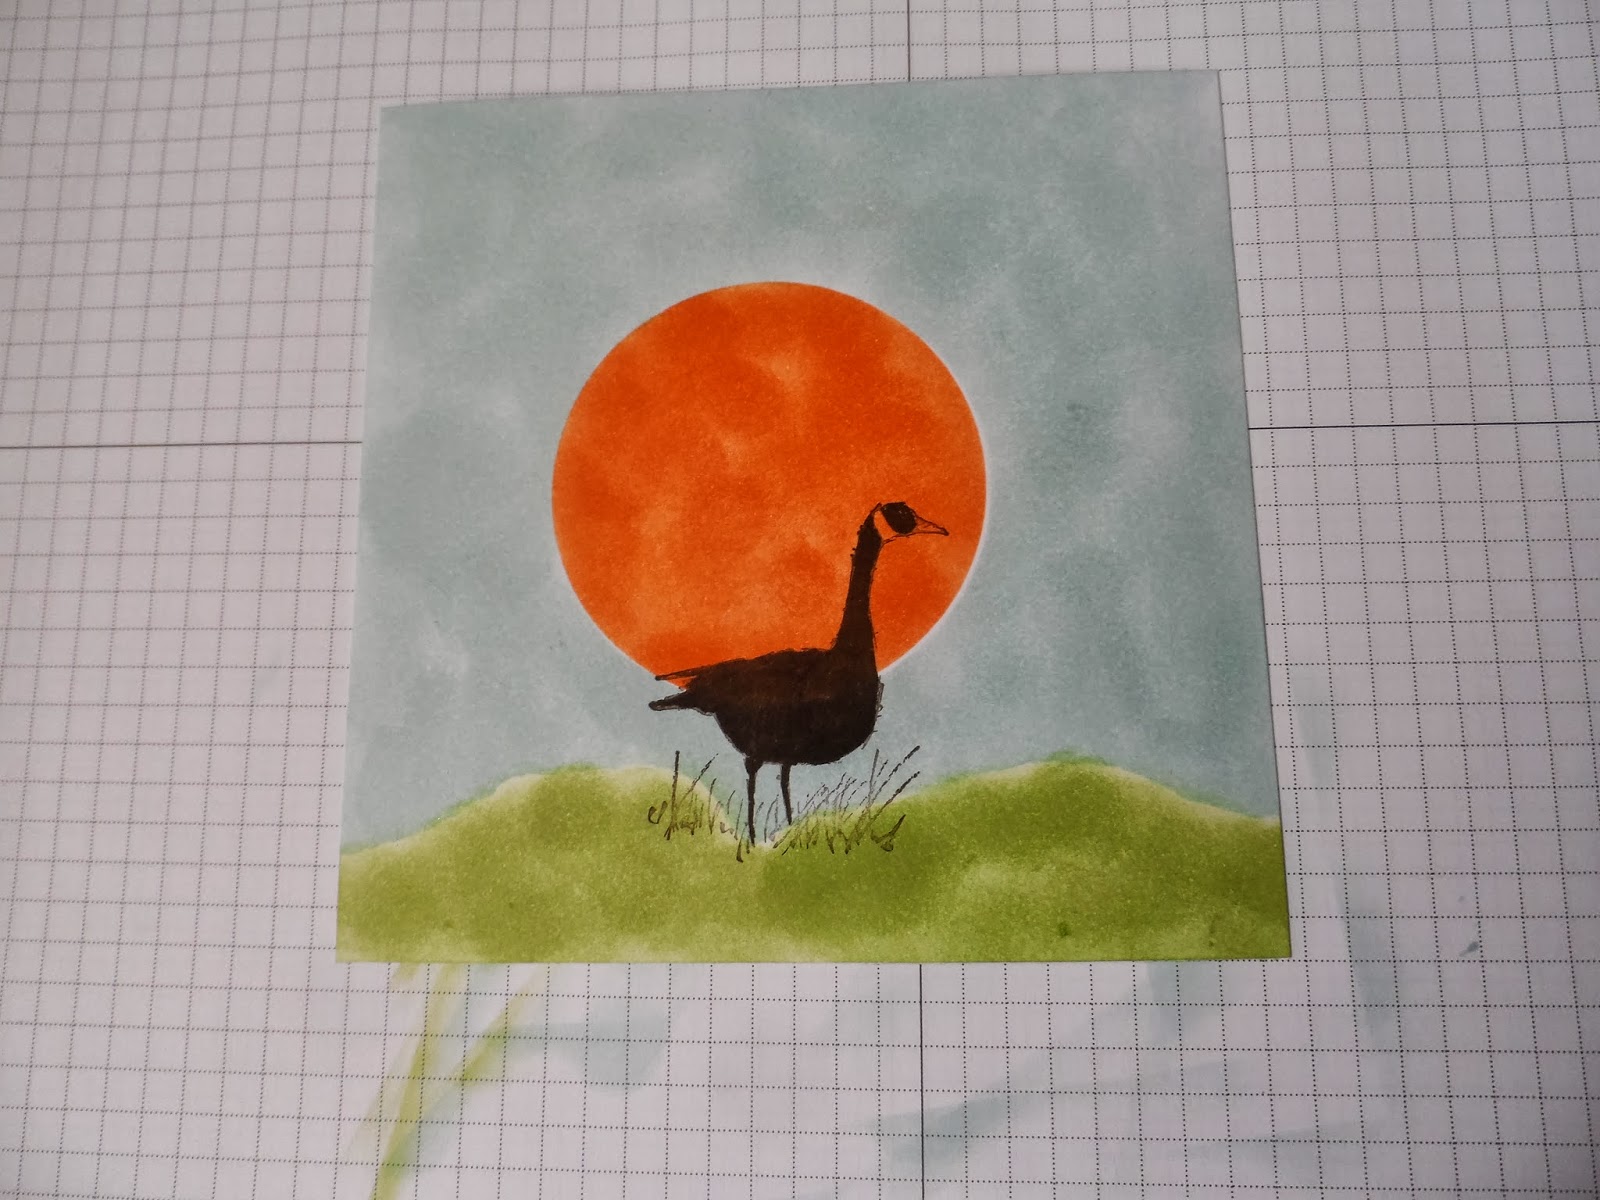
Yes I'm back with another Wetlands card, I do like this stamp set and it's great for male themed cards, which, lets face it, we don't see much of.

So here's today's card;


You will need;
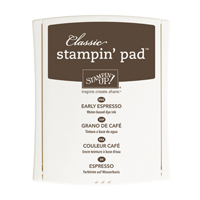
Early espresso card and Ink
Whisper white card
Soft Sky ink
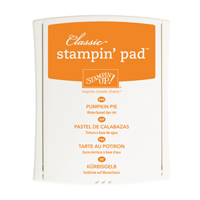
Pumpkin pie Ink
Pear Pizzaz ink
Early espresso stampin write marker
Circle framelets
Wetlands Stamp set

Start with a 6 x 6 card base in Early Espresso, cut two pieces of whisper white card 5 3/4" square
Add one of these squares to the inside of your base card
Using a piece of scrap card cut out a circle using the circle framelets, I used the 6th one from the middle
Using the frame you just cut, place this about midway on your other square of whisper white card and sponge on Pumpkin Pie ink.
You should end up with a 'sun' on your paper
Rip another piece of spare card so that it looks like 'hills' and place at the bottom of your card to act as a mask.  Place the circle you cut out earlier over your 'sun' as a mask and ink in sift sky.
Carefully ink your 'hills in pear pizzaz
Stamp out the bird image from the Wetlands set in Early Espresso ink. Colour using an Early Espresso stampin write marker.
Stamp out some reeds along your 'hills' in Early Espresso ink.
Add a sentiment from the Wetlands set to the top left hand corner of your image.
Now add this to your base card.
Hope you liked todays tutorial, if you require any of the products listed here please click the links below which will take you directly to my online shop.

Happy crafting

Deb xxx
Table built using Stampin' Up! Product Table Builder from The Crafty Owl.


Thursday, 13 March 2014

Peaceful Petals, thinking of you

Another tutorial Dear Readers, again using the Peaceful Petals stamp set.

 A very simple clean card this time. 

You will need;
Wisteria Wonder card and ink
Soft Sky card and ink
Basic Black Ink
Circle Framelets
Peaceful Petals stamp set
Candy dots

Start with a 6 x 6 base card in wisteria wonder

Cut 2 pieces of soft sky measuring 5 3/4" square.
Layer one on to the front of your base card and one to the inside of your base card
Stamp out in black ink a flower of your choice from the peaceful petals stamp set.
Remember if you are going to use stampin write markers to colour the image to stamp in black stazon ink.
Colour your image.  I used Spectrum Noir pens LG2, HB3 and LY3
Cut out your image using the circle framelets. I used the 5th circle from the middle, then cut out the next largest circle in soft sky and the next largest after than in wisteria wonder. I inked the edges on mine before I added them to the card.
Layer these circles up and add them to your base card
Stamp out a sentiment and again cut out with the circle framelets going a size bigger each time for wach different coloured card. 


Layer up and add to the front of your base card so that it slightly overlaps your flower image.
Add candy dots to the top right and bottom left hand corners of your card.

Hope you like it

Happy crafting

Deb xx

Table built using Stampin' Up! Product Table Builder from The Crafty Owl.


Wednesday, 26 February 2014

Hardwood Tutorial

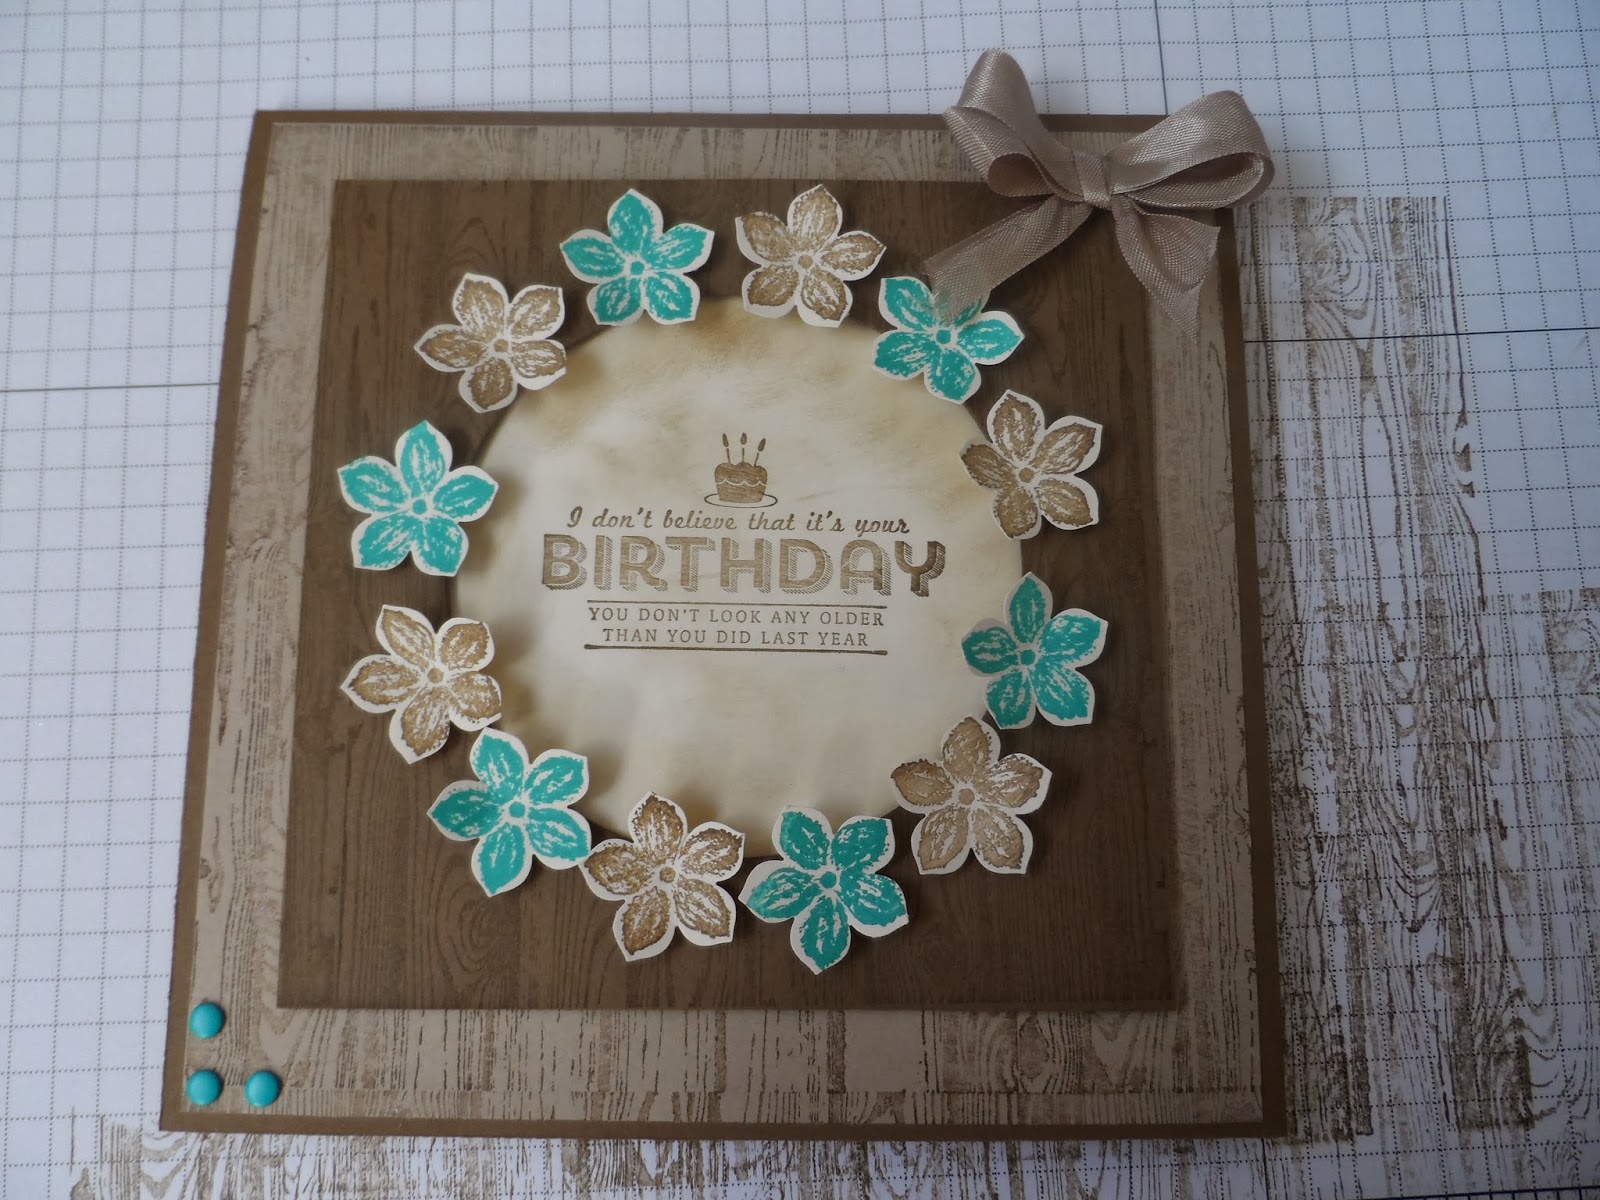
Hi there dear readers, today I have another tutorial for you this time using the hardwood stamp.  I wasn't keen on this stamp until I saw all the beautiful cards that were being made with it.  This one I got the lovely Julie Kettlewell.

So this is the card;

You will need;
Soft suede card and ink
Crumb cake card
Very Vanilla card
Bermuda Bay Ink
Crumb Cake Seam binding
Hardwood Stamp
Petite Petals stamp and punch
Candy dots in Bermuda bay,
Circle Framelets.
See ya later stamp set

Instructions

First make a base card of 6"x6" in soft suede (if you are unsure on how to do this look on my post for 24 February it explains how to do this)

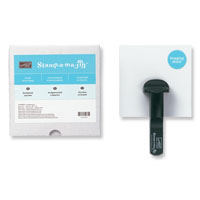
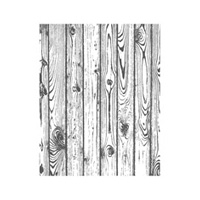
Cut out two 5 3/4" x 5 3/4" Squares in crumb.  Glue one of these pieces to the inside of your card.  Stamp the other with the hardwood stamp in soft suede ink.  I used my stamp-a-ma-jig to help line it up as the card you're using is bigger than the stamp.
Then glue this layer to the front of your base card
Cut a piece of soft suede card stock measuring 4 3/4" square, stamp this in soft suede using the hardwood stamp.
Using the circle framelets cut a circle in the middle of your soft suede 4 3/4" square card.  I used the 7th circle from the middle.

Using one size bigger circle cut out a circle from very vanilla card stock. Stamp this with your sentiment, I used the See Ya Later stamp set for this which is free during sale-a-bration with any order of £45 or more.

Glue the sentiment to the middle of your card.
Add your layer of 4 3/4" square of soft suede card with foam pads

Stamp out some petite petals in soft suede and Bermuda Bay, punch these out and attach them with foam pads around the circle on your soft suede card.
Add a crumb cake bow to the top right hand corner and some candy dots to the bottom left hand corner.  I also made this one for valentines day;


If you would like any of these products please click the pictures below which will take you to my shop

Happy crafting

Deb xx


Table built using Stampin' Up! Product Table Builder from The Crafty Owl.