Wednesday 30 April 2014

Candle Card


So I'm going to show you how to make this candle card, it's larger than the ones you may have seen as the card part of the card is 6" x 6"

Cut a piece of coastal cabana 10 5/8" x 71/4"
Score this along its length at 3/8", 1", 2 1/2" 3 1/8"
Turn the card around and score at 3/4" and 6 1/2"
Cut off the marked excess edges


Cut the tabs as shown and using the bitty banners framelets cut an aperture in the middle as shown, cover this with acetate if you wish.
Fold over the scored part of your card to make the box for your tea lights then put this to one side.
Cut another piece of coastal cabana 6" x 8" score one end at 2"
Stick the folded end to your base card. Add your tea lights and seal the box
Decorate to your taste.  If you require any of the items used to make this card please click the links below which will take you directly to my online shop.

Happy Crafting

Deb xxx

Table built using Stampin' Up! Product Table Builder from The Crafty Owl.


Tuesday 29 April 2014

Willy The Whale

Hi there I'm back!! Did you miss me?  Sorry for todays late blog post but I've been on the school run then I had to run a couple of errands.

So just a quick post today to let you see what Scotty too Hotty and I got up to in the Easter holidays. We made this little fellow.

Scott's home work during the holidays was to make a 3d fish so we made Willy from some retired stampin up fabric and stuffed him with cotton balls.  Scotty is off to Grimsby tomorrow on a trip as part of this terms topic which is all about the sea.

See you soon

Happy crafting

Deb xxx

Monday 14 April 2014

Easter

I may be missing in action over the next two weeks dear readers as it's the Easter holidays here and I have number one son to entertain.

Hope you all have a lovely Easter and the Easter bunny brings something nice.

Happy crafting
Debxxx

Friday 11 April 2014

Candles

Just a quick post today Ladies and Gents.

I wanted some nice candles for My dining room table that matched in with our colour scheme of browns and blues/Aqua.  Of course I couldn't find a thing so decided to make my own. Here's the result.

Very quick and very simple to do using the burlap ribbon, coastal cabana  stretch  trim and some of the vintage designer buttons.
of course if you wanted to light the candles you would first have to remove the ribbon.

Happy crafting

Deb xxx

Table built using Stampin' Up! Product Table Builder from The Crafty Owl.

Thursday 10 April 2014

So Very Grateful

Good Morning dear readers, I hope today finds you well and in fine spirits. Another tutorial for you today.

Here's today's card;
I'm feeling very spring like, can you tell?

Here's what you'll need;
So Grateful Stamp Set
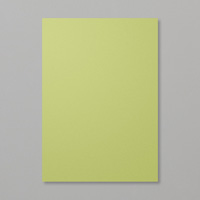
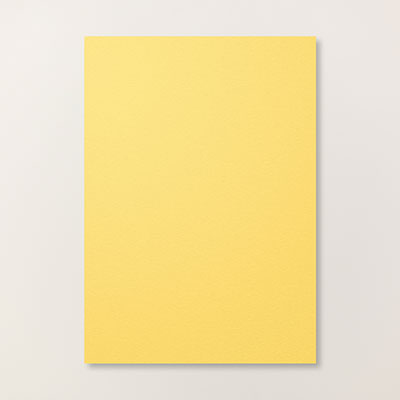
Daffodil Delight Card and Ink
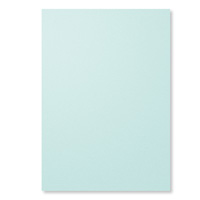
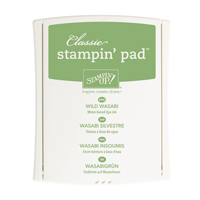
Wild Wasabi Ink
Whisper White Card
Scalloped Oval Punch
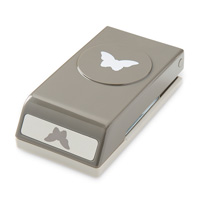
Decorative Label Punch

Start with a 6" square card base in daffodil delight.
Cut two pieces of whisper white card measuring 5 3/4" square glue one of these to the inside of your base card.
On your other piece of whisper white stamp out the corner image from the so grateful stamp set, in all four corners of your card in black ink.  Remember if you are going to colour the image with stampin write markers to used black stazon ink. Colour your image, I used spectrum Noir pens CT1, CT4, DG2
Add this to the front of your base card.
Stamp out a sentiment from the so grateful set in wild wasabi ink, punch this out using the scalloped oval and ink the edges in wild wasabi ink. Punch out a decorative label in daffodil delight and ink the edges of this in the same colour.  Add your sentiment to this.
Punch out some petite petals in daffodil delight and also the small scalloped circle from the itty bitty punch pack, ink the edges of all of these in the same ink.  Then add your scallaoped circles to the middle of your petite petals so that they look like daffodils. Add the sentiment to the middle of your card and arrange the daffodils around it.
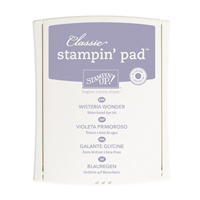
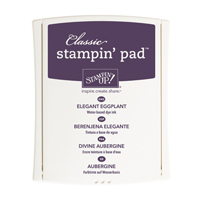
If you'd like any of the products used to make this card please click on the pictures below which will take you to my online shop.

Happy crafting

Deb xxx


Table built using Stampin' Up! Product Table Builder from The Crafty Owl.


Wednesday 9 April 2014

Card in a box

 I first got the instructions for this card from my very lovely upline Monica last year! I've only just got round to making the card after seeing lots of lovely pictures of them posted online.

So here's my version, I'm sure you've seen lots and lots lol

I've done this is baked brown sugar, pistachio pudding and crisp Cantaloupe.
I've popped some little butterflies on he flowers and added gems and pearls.
and popped a sentiment on the front.

Hope you like my version and if you haven't had a go yet here's a you tube video on how to make your own

 If you would like any of the products used to make this card please click on the pictures below which will take you to my online shop.

Happy crafting

Deb xxx

Table built using Stampin' Up! Product Table Builder from The Crafty Owl.