Showing posts with label basic black. Show all posts

Wednesday, 22 October 2014

Curvy Keepsake pumpkin

Hi everyone

I hope you are all well today and survived the winds yesterday.  Today I want to share with you a project made with the curvy keepsake die


isn't it just too cute? love this, it's made with velum and coloured using inks.
This is what he looks like with a battery operated tea light inside. There is a you tube video here with instructions on how to make it, and you can order your items by clicking on the links below.


Happy Crafting

Deb xx
Table built using Product Table Builder by The Crafty Owl - Independent Stampin' Up! Demonstrator.

Tuesday, 27 May 2014

Wedding RSVP

Just a quick post today as it's half term and time needs to be spent with number one son.  I'm going to share with you an RSVP I made for a wedding celebration I'd been invited to.

It quite simply uses the heart punch to make a tux and dress front.  I embossed the black part of the tux with the lattice folder and the dress with the petals a plenty.
Heres a closer look, you can just about see the pearls I put on the shirt for buttons. There are lots of different tutorials for this on you tube if you'd like to have a bash yourself.

Happy crafting

Deb xx

Table built using Stampin' Up! Product Table Builder from The Crafty Owl.

Monday, 7 April 2014

Banners Framelets

Hi there I hope you are all well. Hope that Sahara sand didn't bother you too much hopefully the weather will start being nice and spring like now. lol I know I won't hold my breath for that!

Today I'm going to share with you a banner I made for Scotty too Hotty's door, he's been after a door plaque with his name on for a while but I thought this was better, and it gave me a chance to use my new banner framelets.

He's well pleased with it I must say I used the now retired Make a monster set.
Bit of an angry looking monster here lol.
I also added a tardis *whisper* it's the telephone stamp from the feeling sentimental set.  It was all done in basic black and tempting turquoise.

If you would like any of the current products listed please click the pictures below which will take you to my online shop.

Happy crafting

Deb xx

Table built using Stampin' Up! Product Table Builder from The Crafty Owl.


Monday, 3 March 2014

So Grateful

Hi there hope you are all well on this fine Monday morning, it's my 'proper job' work day today, where I go into school and try and help the teachers educate unruly teenagers lol.

Today on the blog I have a technique tutorial for you using embossing powders and a bit of inking.  It's a resist technique which is a lot easier than what it looks. 

So here's the card we're going to make;
You will need;
Pistachio pudding card and ink
Whisper white card
Basic Black card and ink
Clear embossing powder
Rhinestones
Clear Versamark pad
Sponge daubers
En Francias stamp

Start with a 6x6 base card in pistachio pudding, cut 2 pieces of basic black 5 3/4" square, one whisper white 5 1/2" square and a piece of whisper white 4 1/2" square.

Matt and layer the 51/2" square of whisper white onto one of your basic black squares and glue this to the inside of your card.
Using the En Francias stamp.  Stamp in basic black ink onto your 4 1/2" square of card.

Using your versamark pad. stamp out the largest flower from the So Grateful stamp set into the middle of your 4 1/2" square of white card.  Cover this with clear embossing powder and heat emboss.

Using a sponge dauber, ink it up with pistachio pudding ink.  Start slowly in circular motions inking your card.  Work your way slowly across your card until the whole thing is inked and your main image is revealed.

Layer your inked image on to your black card and add this to the frount of your base card.  Add some rhinestones to the top left hand corner and a sentiment if you wish.

If you would like any of the products used to make this card please click the pictures below which will take you directly to my online shop.

Happy crafting

Deb xxx

Table built using Stampin' Up! Product Table Builder from The Crafty Owl.


Friday, 28 February 2014

People Like You Tutorial

When I saw this stamp set I just had to have it, the sentiment on it is just so lovely!  So here's the card we're going to make.

A very simple card with some colouring and a little bit of decoupage. I saw a card similar to this on pinterest.

You will need
People like you Stamp
Whisper White Card
Basic Black card
Gems
Cherry Cobbler Chevron Ribbon

Instructions

Start with a 6"x6" base card in whisper white

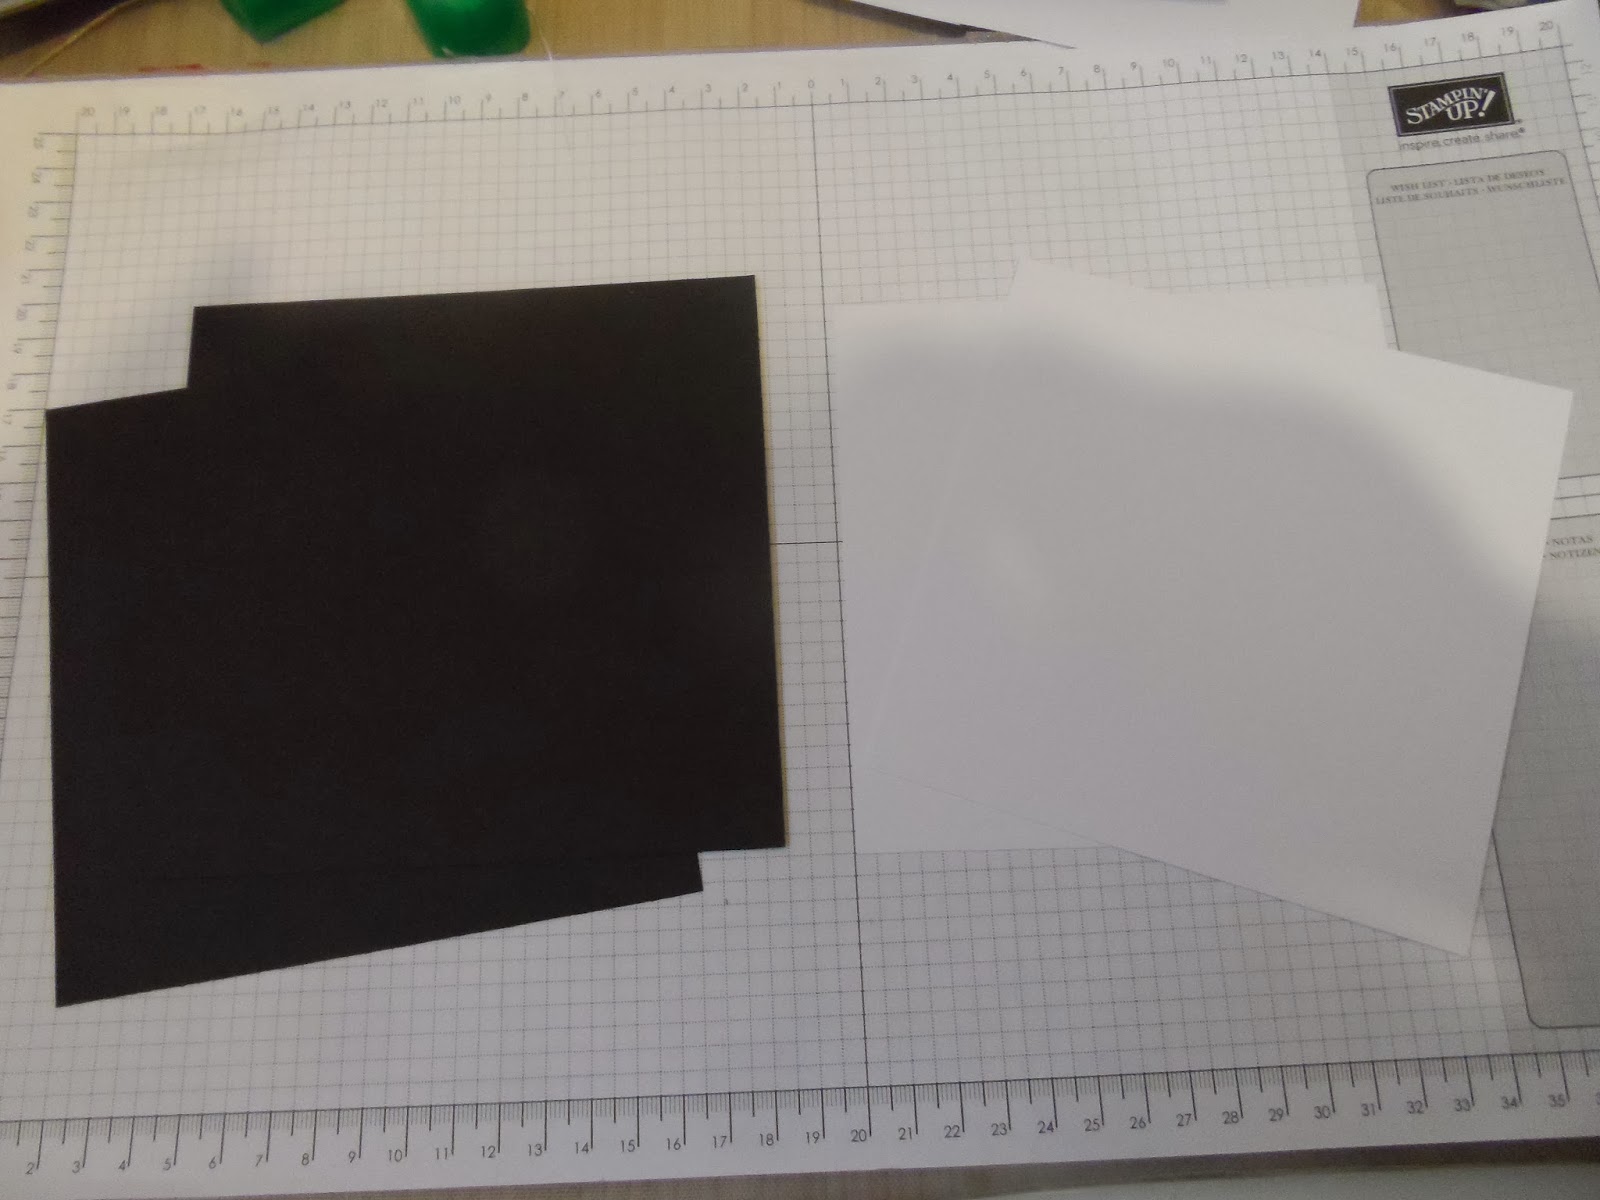
Cut two black layers of 5 3/4" square and two white layers of 5 1/2" square.
Mat and layer one of the black and white layers to the inside of your card.
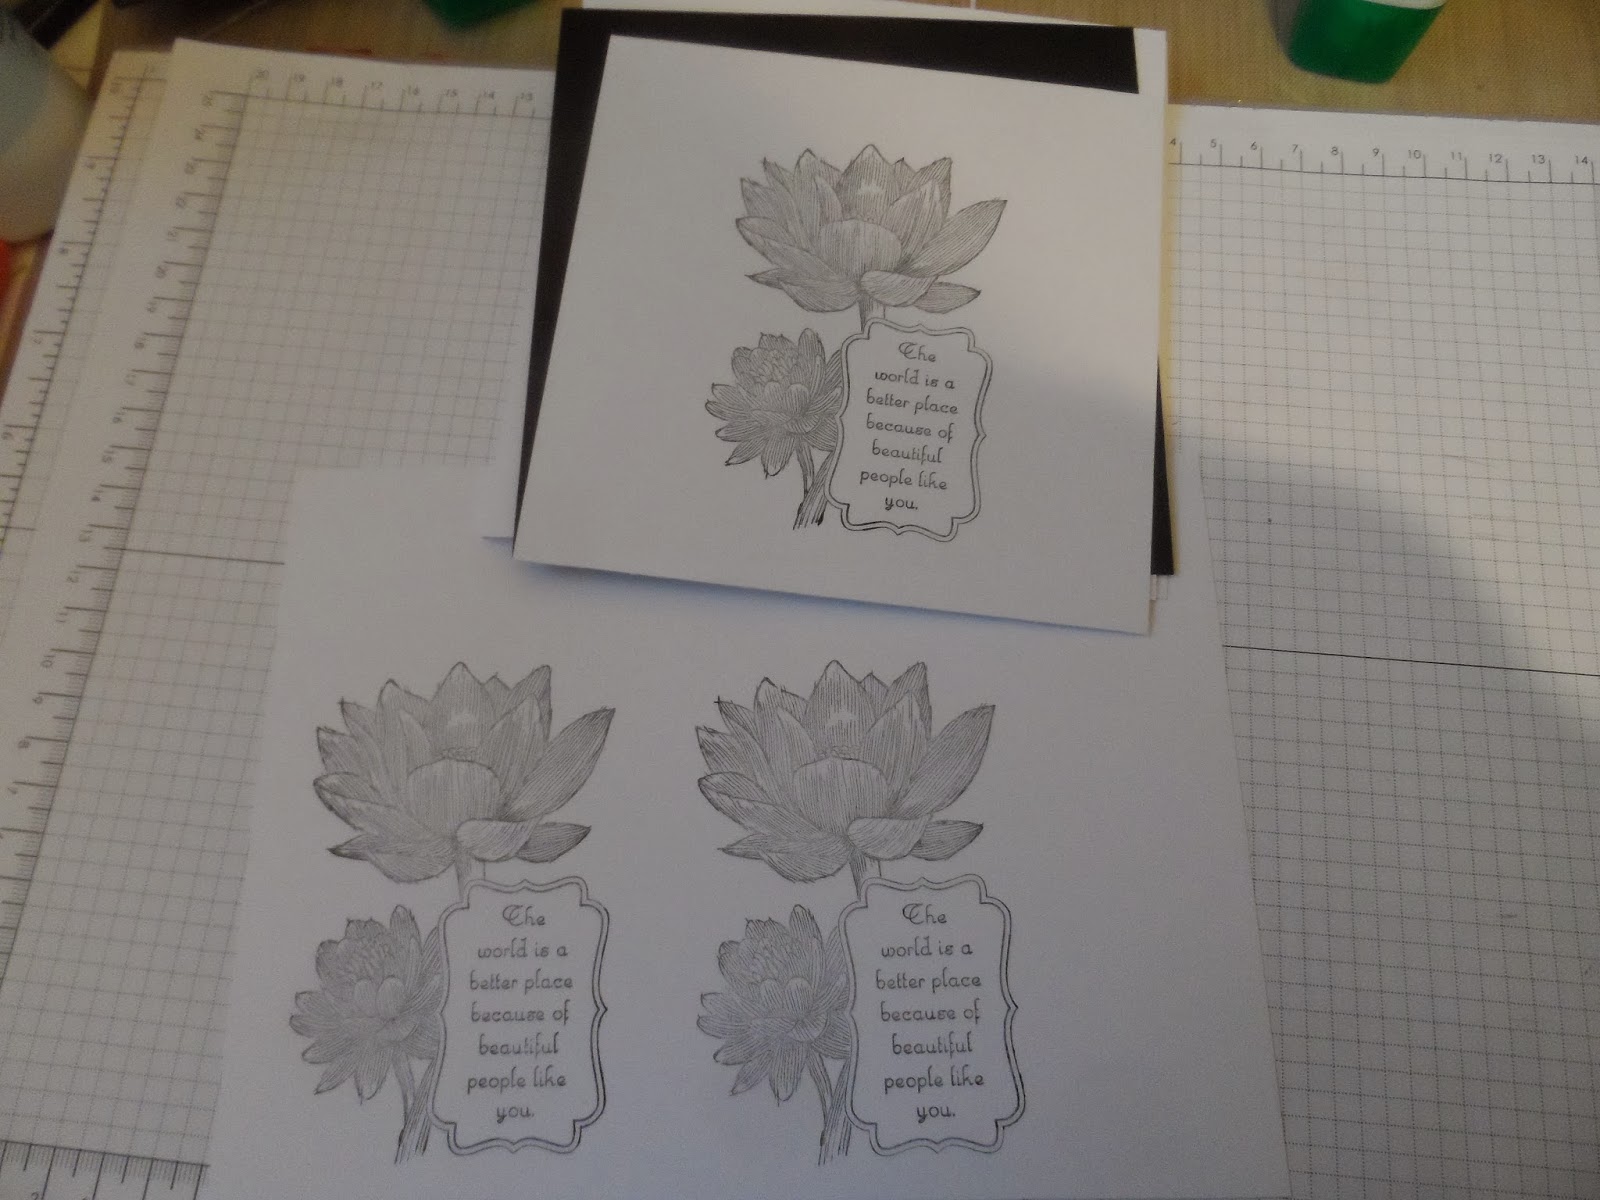
On your 5 1/2" square layer that you have left stamp the image 'people like you'. Stamp it out twice more on a separate piece of card so that you can use these layers for your decoupage.
Colour as desired.  If you are colouring using stampin write markers please remember to stamp in black stazon ink.  I used Spectrum Noir pens to colour using CR11, DG2 and CT4.
Cut out the pieces as shown and layer on to your card using foam pads
Before layering up your sentiment add a piece of chevron ribbon.
Layer your stamped image on to your remaining black layer and then onto the front of your base card.  Add three gems to the top left hand corner of your card.  You could also add a sentiment to the inside of your card if you so wish.

Hope you liked todays tutorial, if you would like any of the products used to make this card please click the picture links below which will take you directly to my shop

Happy crafting

Deb xx


Table built using Stampin' Up! Product Table Builder from The Crafty Owl.