Showing posts with label pumpkin pie. Show all posts

Thursday, 6 November 2014

Pumpkin Pie

Hello Dear Readers

Today I want to share with you an Autumn birthday card I made for a friend at work.  Featuring a lovely pumpkin.

Lovely with the leaves, they were cut from the Colour me Autumn paper and the wood effect background is from the Motley Monsters paper, but you could achieve this by either using the wood grain stamp or embossing folder.


The pumpkin is made by using the circle punch and the inking the edges so that it has a little extra pop. (punch out 3 circles then glue together)

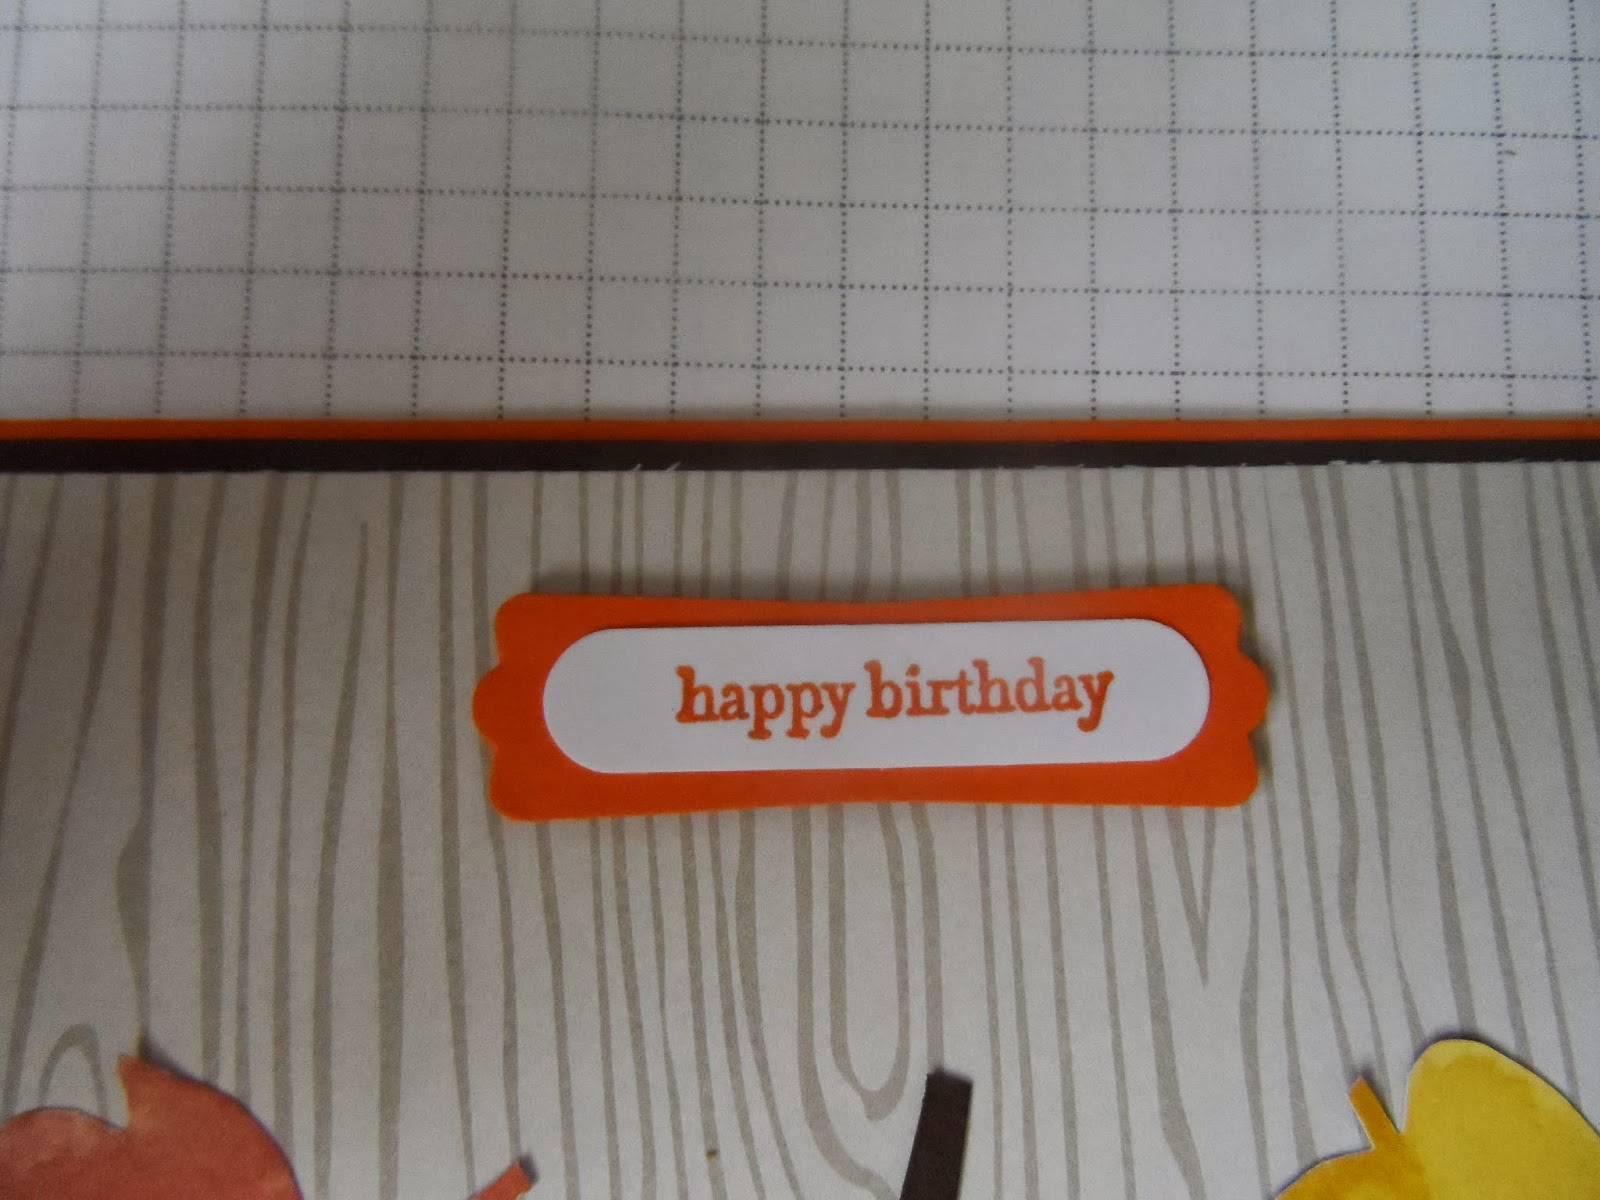
The happy birthday is from the teeny tiny sentiments and punch out using the word window and modern label punches.

That's all for now, hope you like it

Happy crafting

Deb xxx


Table built using Product Table Builder by The Crafty Owl - Independent Stampin' Up! Demonstrator.

Wednesday, 22 October 2014

Curvy Keepsake pumpkin

Hi everyone

I hope you are all well today and survived the winds yesterday.  Today I want to share with you a project made with the curvy keepsake die


isn't it just too cute? love this, it's made with velum and coloured using inks.
This is what he looks like with a battery operated tea light inside. There is a you tube video here with instructions on how to make it, and you can order your items by clicking on the links below.


Happy Crafting

Deb xx
Table built using Product Table Builder by The Crafty Owl - Independent Stampin' Up! Demonstrator.

Tuesday, 7 October 2014

Autumn is here

Hello Dear readers

I hope that you are all well and managed to survive yesterdays winds and rain.  I want to share with you today a little autumn project I made.  It's really to replace the spring time wreath I had hanging on the inside of the front door for something more seasonal. 

Isn't it lovely? I've used early espresso, pumpkin pie and whisper white.
The first plaque features a pumpkin with some autumn leaves, the pumpkin is made using the 1 3/4 Circle punch and the extra large oval punch, you can't see very clearly on this but ive also inked the edges to give it some pop.  The pumpkin vines are just very thin strips of Garden Green card wrapped around a pokey tool to curl them.
On the second Plaque I've stamped out the wondrous wreath in autumn colours.
On the last plaque I've added a chalk board label (available on Ebay) so little messages can be left by the family, watch this space for the Christmas version.

I hope you've enjoyed todays project and if you would like to order any of the stampin up items used please click on the links below.

Happy Crafting

Deb xx

Table built using Product Table Builder by The Crafty Owl - Independent Stampin' Up! Demonstrator.


Monday, 17 March 2014

Wetlands returned

Yes I'm back with another Wetlands card, I do like this stamp set and it's great for male themed cards, which, lets face it, we don't see much of.

So here's today's card;


You will need;
Early espresso card and Ink
Whisper white card
Soft Sky ink
Pumpkin pie Ink
Pear Pizzaz ink
Early espresso stampin write marker
Circle framelets
Wetlands Stamp set

Start with a 6 x 6 card base in Early Espresso, cut two pieces of whisper white card 5 3/4" square
Add one of these squares to the inside of your base card
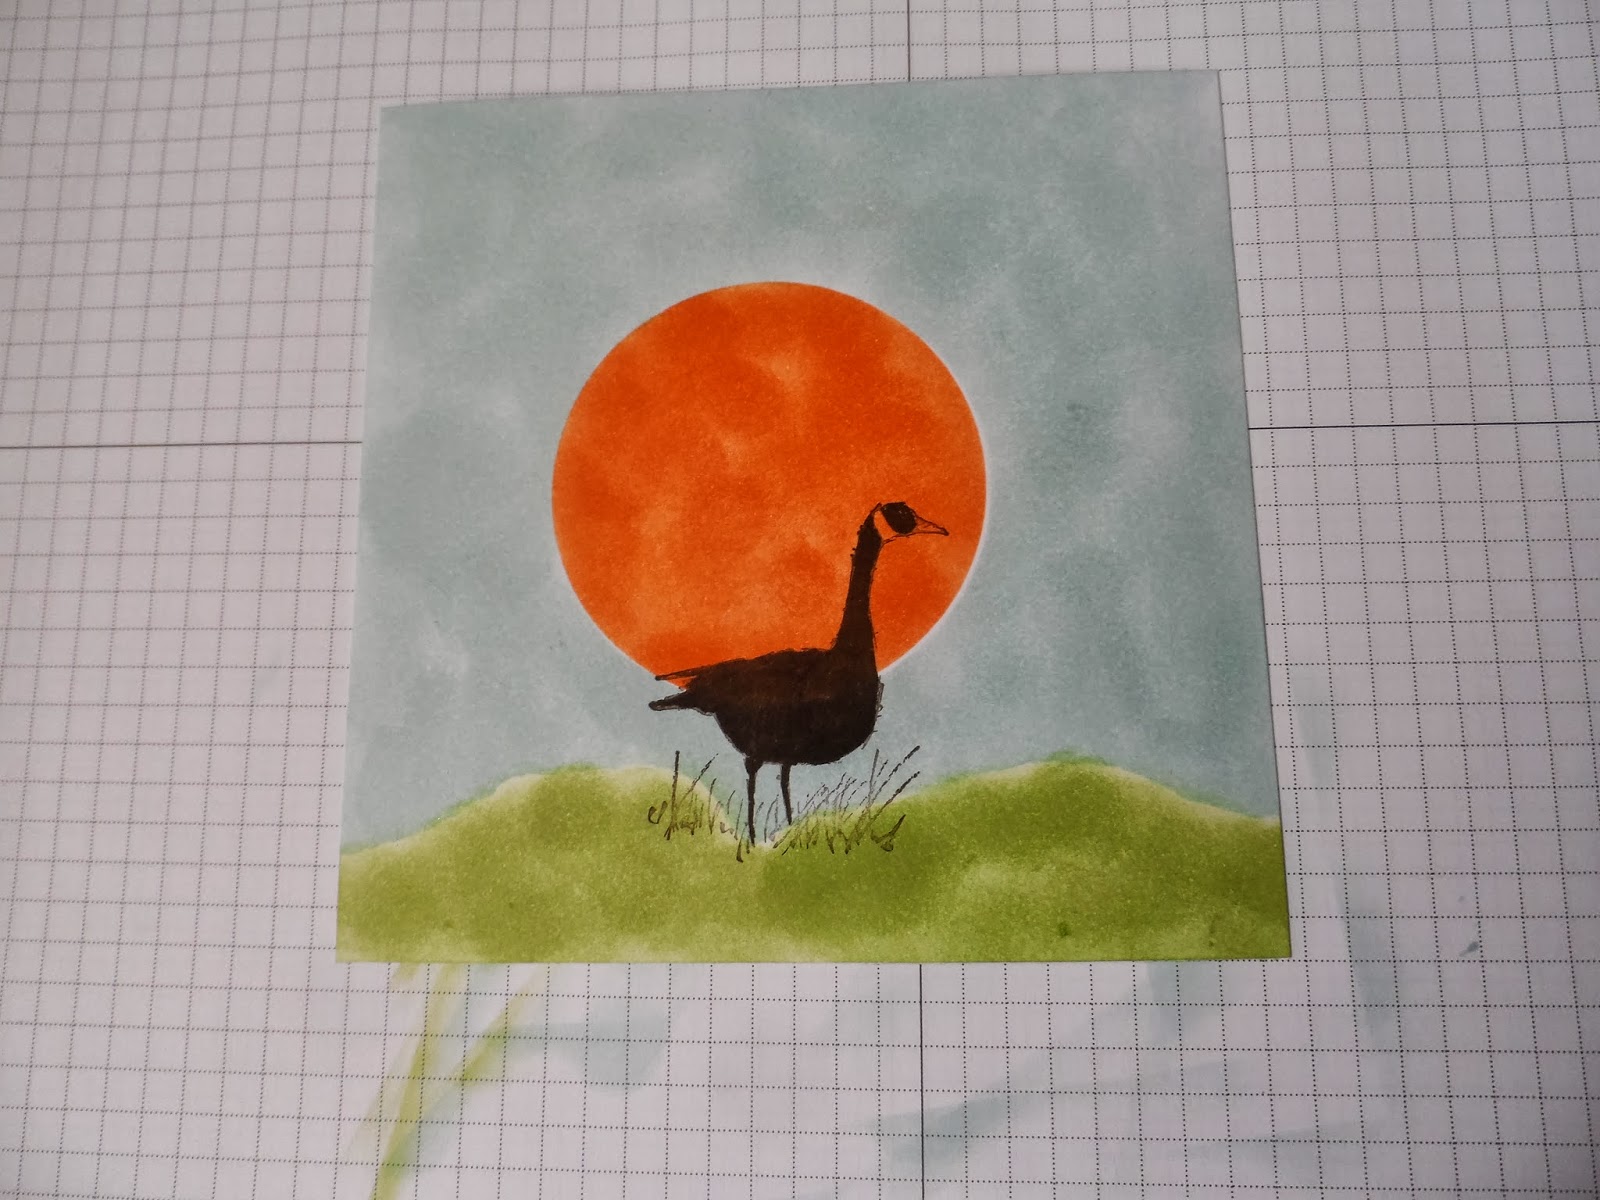
Using a piece of scrap card cut out a circle using the circle framelets, I used the 6th one from the middle
Using the frame you just cut, place this about midway on your other square of whisper white card and sponge on Pumpkin Pie ink.
You should end up with a 'sun' on your paper
Rip another piece of spare card so that it looks like 'hills' and place at the bottom of your card to act as a mask.  Place the circle you cut out earlier over your 'sun' as a mask and ink in sift sky.
Carefully ink your 'hills in pear pizzaz
Stamp out the bird image from the Wetlands set in Early Espresso ink. Colour using an Early Espresso stampin write marker.
Stamp out some reeds along your 'hills' in Early Espresso ink.
Add a sentiment from the Wetlands set to the top left hand corner of your image.
Now add this to your base card.
Hope you liked todays tutorial, if you require any of the products listed here please click the links below which will take you directly to my online shop.

Happy crafting

Deb xxx
Table built using Stampin' Up! Product Table Builder from The Crafty Owl.