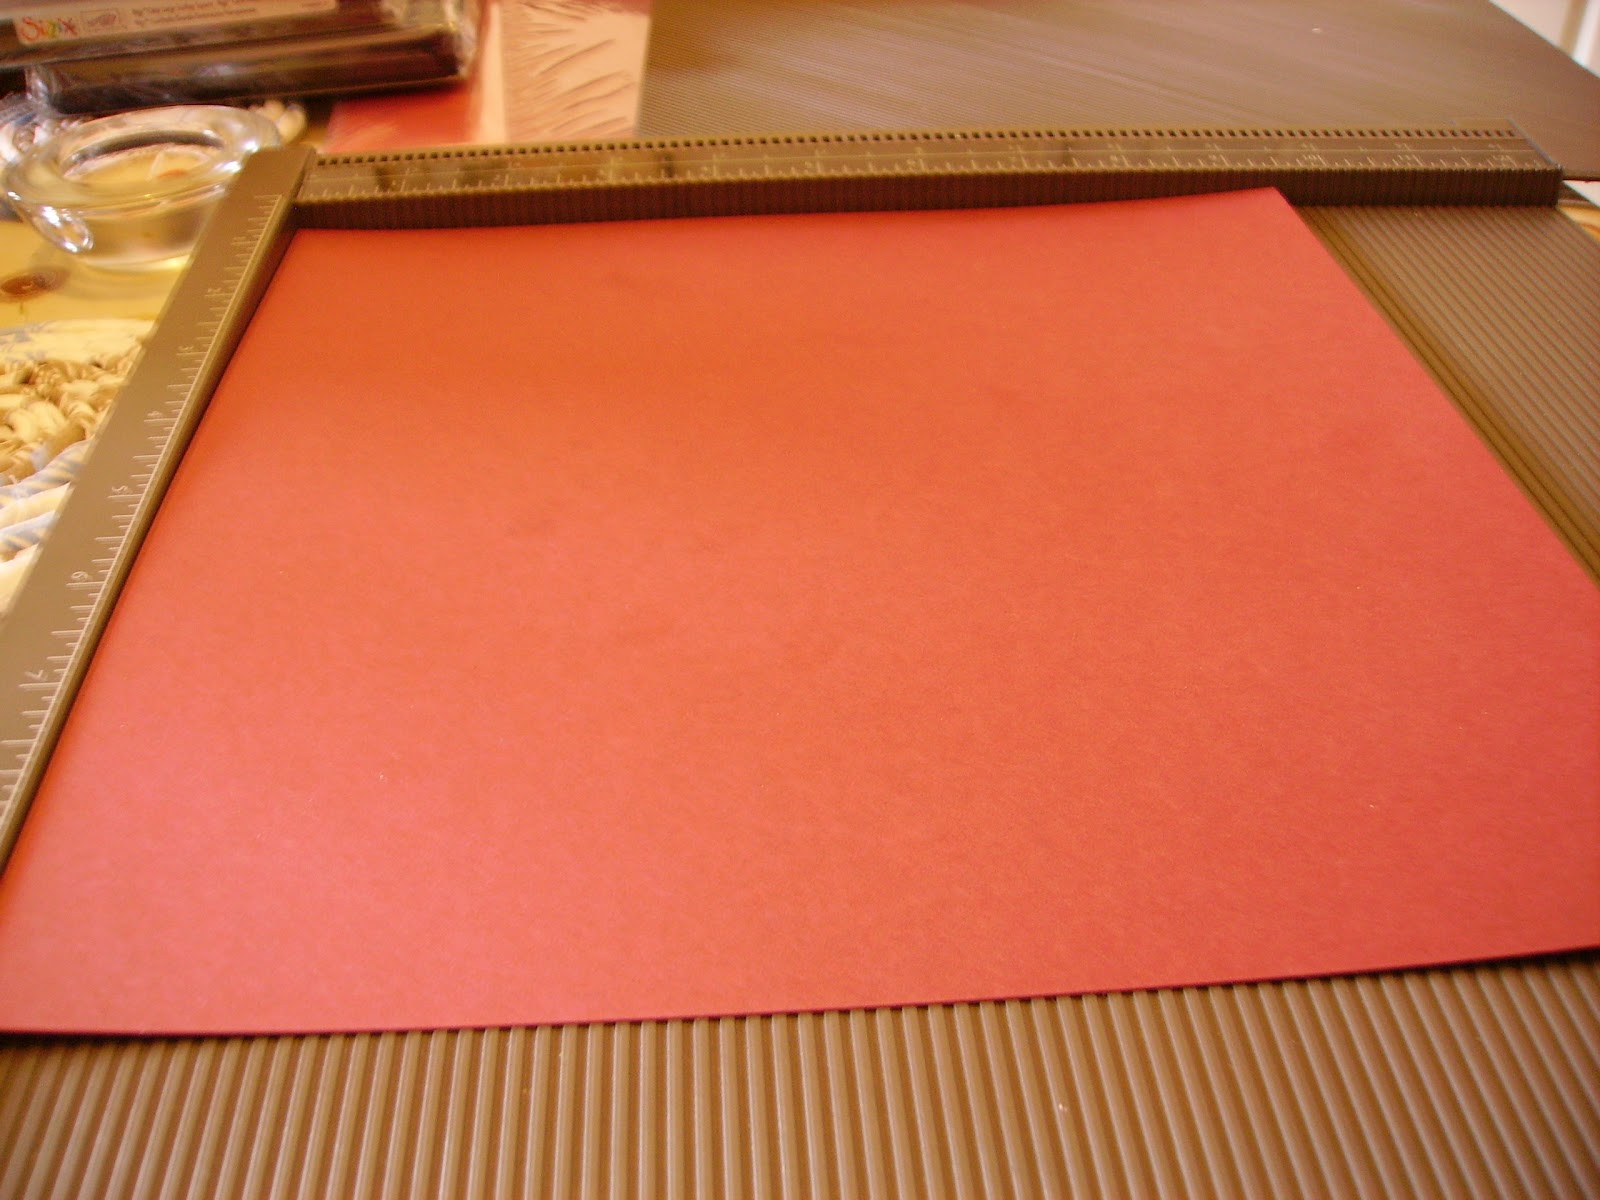
Well sorry for being so quiet but I've been off on my holidays, we were lucky enough to have Scott's God Mother come along with us this year, which of course Scott loved as he adores her so much.
Here is a pic of them both buried in the sand lol it was the only way we could get them to stay still
Any way lets get on to Stampin Up's August Promotion during August you can get your hands on a very pretty new stamp set called Reason to smile. You can either get it free with an order of £60 or you can buy it for £18.95 in the wood mount option or £14.95 in the clear mount version.
Isn't it lovely and best of all you can get it free!
There is also some lovely things to look forward to in September too, but for the moment my lips are sealed ;-). I must say one of the benefit of becoming a demonstrator is that we get a sneak peak, and play with the products and often get products free ! If you'd like to have a chat to me about becoming a demonstrator or if you would like to place an order and get your free stamp set please email me here .
Happy Crafting
Deb xx
Tuesday, 7 August 2012
Thursday, 26 July 2012
Fold out card tutorial
I've seen this card quite a few times on blogs etc but have never managed to find instructions on how to make it, luckily I mentioned it to one of my friends, who'd made one so gave me her card so that I could copy it. So here's the card and tutorial
Cut your card 24 x 24cm, save the long piece of cut off card for your belly band. Then score your 24 cm square card at 6cm and 18cm, turn your card round and score again at 6cm and 18cm, this should leave you with one large square in the middle and four smaller squares on all four corners.
Take your Diagonal plate and score at 4 3/4 inches and 7 1/8 inches. Do this on all four sides.
You should now have four triangles coming off the large middle square, fold these triangles into the middle so that they cover the large inside square.
You should now have four small squares facing you, like this;
Fold these along the score lines outwards to the outer corners.
Then all there is for you to do is decorate and add your belly band to keep the card closed,
For my card I've used Bravo Burgundy, Baja Breeze and whisper white card, I've used the pines and poinsettias stamp set and the stampin write pens. Sorry about some of the blurry photography, hope this helps you make this lovely and effective card, if you would like any of the products to make this card please email me your order.
Happy Crafting
Deb x
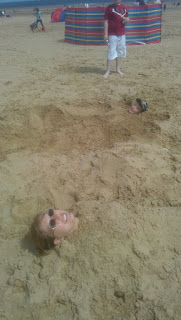
Cut your card 24 x 24cm, save the long piece of cut off card for your belly band. Then score your 24 cm square card at 6cm and 18cm, turn your card round and score again at 6cm and 18cm, this should leave you with one large square in the middle and four smaller squares on all four corners.
Take your Diagonal plate and score at 4 3/4 inches and 7 1/8 inches. Do this on all four sides.
You should now have four triangles coming off the large middle square, fold these triangles into the middle so that they cover the large inside square.
You should now have four small squares facing you, like this;
Fold these along the score lines outwards to the outer corners.
Then all there is for you to do is decorate and add your belly band to keep the card closed,
For my card I've used Bravo Burgundy, Baja Breeze and whisper white card, I've used the pines and poinsettias stamp set and the stampin write pens. Sorry about some of the blurry photography, hope this helps you make this lovely and effective card, if you would like any of the products to make this card please email me your order.
Happy Crafting
Deb x
Wednesday, 25 July 2012
Diorama Card
Well here I am again with another card we made at stamp club this week, I've seen several of these on the internet but I've made mine a Christmas card. Yes ladies and Gents it's that time of year when we should be sensibly thinking about getting are Christmas cards done and dusted although if you're anything like me you'll be doing them all the night before you plan to send them out :-/
And it's so simple to male, as you can see I went a bit made with the spritzer spray.. I've used the Apothecary Art stamp set, Framelets, Little leaves die, itty bitty punch set, pearls and Cherry cobbler card which I topped off with some Always Artichoke seam binding tied in a bow. There is a lovely little, tutorial of how to make these cards here.
If you'd like to order the items used to make this card please email me your order
Happy Crafting
Deb xxx
And it's so simple to male, as you can see I went a bit made with the spritzer spray.. I've used the Apothecary Art stamp set, Framelets, Little leaves die, itty bitty punch set, pearls and Cherry cobbler card which I topped off with some Always Artichoke seam binding tied in a bow. There is a lovely little, tutorial of how to make these cards here.
If you'd like to order the items used to make this card please email me your order
Happy Crafting
Deb xxx
Monday, 23 July 2012
Wedded Bliss
I wanted to share a card with you today that I made for a Civil Partnership. Two good friends of mine took the plunge on Saturday and lots of fun was had by all. Even more surprising is I even managed to get Ray (the better half) up to dance, he had well soaked his liver by this time though lol.
So here's the card;
I used the heart punch to make the two dresses and finished them off with some pearls ,I've lightly dusted some Baja Breeze over the hearts to make the bust area stand out, I also popped some pearls on oppisite corners and used some Baja breeze card embossed using the Victorian wallpaper embossing folder. Quite Simple.
If you would like to order the items used to make this card please Email me here.
Happy Crafting
Deb xxx
So here's the card;
I used the heart punch to make the two dresses and finished them off with some pearls ,I've lightly dusted some Baja Breeze over the hearts to make the bust area stand out, I also popped some pearls on oppisite corners and used some Baja breeze card embossed using the Victorian wallpaper embossing folder. Quite Simple.
If you would like to order the items used to make this card please Email me here.
Happy Crafting
Deb xxx
Saturday, 21 July 2012
Stepper Compartment Box
Well the sun is shining lovely and bright here in South Yorkshire and I hope it's doing the same near you. Now today I want to share one of the products the ladies made at stamp club this week. It's a lovely compartment box ideal for birthdays, Christmas, weddings or any present giving occasion really.
Here is the top of the box which I finished off using the Mixed Bunch stamp set and an antique brad. Unfortunately in my infinite wisdom I didn't photograph the actual box before I lent the camera to my dad, I so am getting terrible senior moments just lately lol. As you can see I opted for always artichoke and paisley petals designer papers.
Hope you like it
Deb xx
Here is the inside of the box as you can see the compartments are stepped so that they neatly fit on top of each other when the box is closed.
Here is the top of the box which I finished off using the Mixed Bunch stamp set and an antique brad. Unfortunately in my infinite wisdom I didn't photograph the actual box before I lent the camera to my dad, I so am getting terrible senior moments just lately lol. As you can see I opted for always artichoke and paisley petals designer papers.
Hope you like it
Deb xx
Sunday, 15 July 2012
Birthday Delights
Yes you have seen this card before, but in a different colour way and as I was having to use my mobile at the time for pics, the picture was not that great, so here it is again but better lol;
I used the everything Eleanor stamp set, certainly celery and bashful blue inks and card to make, I used added some of the lovely scalloped polka dot ribbon in marina mist. I also made an insert for this card;
I do really like this card and have now made several for people, if you are coming to my craft class on Saturday this is one of the cards you'll be making.
Happy Crafting
Deb xxxx
I used the everything Eleanor stamp set, certainly celery and bashful blue inks and card to make, I used added some of the lovely scalloped polka dot ribbon in marina mist. I also made an insert for this card;
I do really like this card and have now made several for people, if you are coming to my craft class on Saturday this is one of the cards you'll be making.
Happy Crafting
Deb xxxx
Wednesday, 11 July 2012
Box of delights
Well the kids at school are abuzz with excitement as next week is their last week at school plus, it's activity week, plus it's only four days long!!! You can't get better than that! I'm a little abuzz myself as it'll soon be time for our holidays and this year Scott's God Mother and my good friend mama Jac is tagging along with us too.
Anyhoo to the work in hand, I made this lovely surprise box, it seems to be the 'in' thing with fellow demonstrators at the moment and I'm not surprised as you can make it from a single piece of card and it's very simple to make.
I've used Daffodil Delight and Early Espresso to make this box, and used the mixed bunch stamp set to decorate, and the blossom punch, as you can see I've topped the flower off with an antique brad.
Isn't just lovely it's no wonder everyone's gone mad making it, you can make it too because there is a video tutorial right here for it and if you would like to order the items used to make it please do email me
Happy Crafting
Deb xxx
Anyhoo to the work in hand, I made this lovely surprise box, it seems to be the 'in' thing with fellow demonstrators at the moment and I'm not surprised as you can make it from a single piece of card and it's very simple to make.
I've used Daffodil Delight and Early Espresso to make this box, and used the mixed bunch stamp set to decorate, and the blossom punch, as you can see I've topped the flower off with an antique brad.
Isn't just lovely it's no wonder everyone's gone mad making it, you can make it too because there is a video tutorial right here for it and if you would like to order the items used to make it please do email me
Happy Crafting
Deb xxx
Subscribe to:
Posts (Atom)