Showing posts with label Daffodil Delight. Show all posts

Thursday, 10 April 2014

So Very Grateful

Good Morning dear readers, I hope today finds you well and in fine spirits. Another tutorial for you today.

Here's today's card;
I'm feeling very spring like, can you tell?

Here's what you'll need;
So Grateful Stamp Set
Daffodil Delight Card and Ink
Wild Wasabi Ink
Whisper White Card
Scalloped Oval Punch
Decorative Label Punch

Start with a 6" square card base in daffodil delight.
Cut two pieces of whisper white card measuring 5 3/4" square glue one of these to the inside of your base card.
On your other piece of whisper white stamp out the corner image from the so grateful stamp set, in all four corners of your card in black ink.  Remember if you are going to colour the image with stampin write markers to used black stazon ink. Colour your image, I used spectrum Noir pens CT1, CT4, DG2
Add this to the front of your base card.
Stamp out a sentiment from the so grateful set in wild wasabi ink, punch this out using the scalloped oval and ink the edges in wild wasabi ink. Punch out a decorative label in daffodil delight and ink the edges of this in the same colour.  Add your sentiment to this.
Punch out some petite petals in daffodil delight and also the small scalloped circle from the itty bitty punch pack, ink the edges of all of these in the same ink.  Then add your scallaoped circles to the middle of your petite petals so that they look like daffodils. Add the sentiment to the middle of your card and arrange the daffodils around it.
If you'd like any of the products used to make this card please click on the pictures below which will take you to my online shop.

Happy crafting

Deb xxx


Table built using Stampin' Up! Product Table Builder from The Crafty Owl.


Tuesday, 8 April 2014

Flower Shop

Another little bit of a tutorial for you today, here's the card we're going to make;
Very summery colours on this one, you will need
Calypso Coral Card and Ink
Daffodil Delight Card and Ink
Hexagon Hive Framelet
Flower Shop Stamp set and Matching Pansy  Punch
Bird Builder Punch
Oval Scalloped  Punch
Decorative label Punch

Start with a C6 base card in Calypso Coral ( A5 folded in half)

Cut a piece of water colour wonder paper 14.4 x 10cm and cut two pieces of daffodil delight the same size
Take one piece of the daffodil delight card and die cut it using the hexagon hive framelet
Glue this to the front of the water colour wonder paper you cut.  You will need to trim the paper to fit.
Add this to the front of your base card and add the other piece of daffodil delight card you cut to the inside of your base card.
Stamp out 3 flowers from the flower shop stamp set on calypso coral, punch these out and add to the front of your base card.
Add some leaves to your flowers using the bird builder punch and add a sentiment.
If you would like any of the products I've used today please click on the pictures below which will take you directly to my online shop.

Happy crafting

Deb xx

Table built using Stampin' Up! Product Table Builder from The Crafty Owl.


Tuesday, 1 April 2014

Feel Goods

Hi there I hope that today finds you all well dear readers.  Now I must make a confession, I've had the Feel Goods stamp set for some time but have never used it.  Yes I definitely need my legs slapping lol.


 I've used that fantastic accordion die again (it's by Elizabeth craft design if you didn't see my last post with it) I love this die you can make the accordion as big as you like you don't have to stop at three like I've done, it would be fantastic if you wanted to do a big card with someones name on it.
I've punch out some of the petite petals from the water colour wonder for both ends of the card, the little middles are a tiny scalloped circle that comes in the itty bitty punch pack and I just popped a gem in the middle.
Then of course the middle is one of the quotes from the feel good stamp set, I've inked the edges of all the whisper white card with a bit of calypso coral ink.

Hope you like today's card, if you would like any of the items used to make this card please click on the pictures below which will take you directly to my online shop.

Happy crafting

Deb xx
Table built using Stampin' Up! Product Table Builder from The Crafty Owl.


Tuesday, 12 November 2013

Flocks of Butterflies

Are they even called a flock? My dad once told me (When I was very small) that butterflies never fly in straight lines because they have hay fever and are sneezing all the time, and that was why you never see them flying in flocks because the power of one thousand butterfly sneezes would be immense lol.

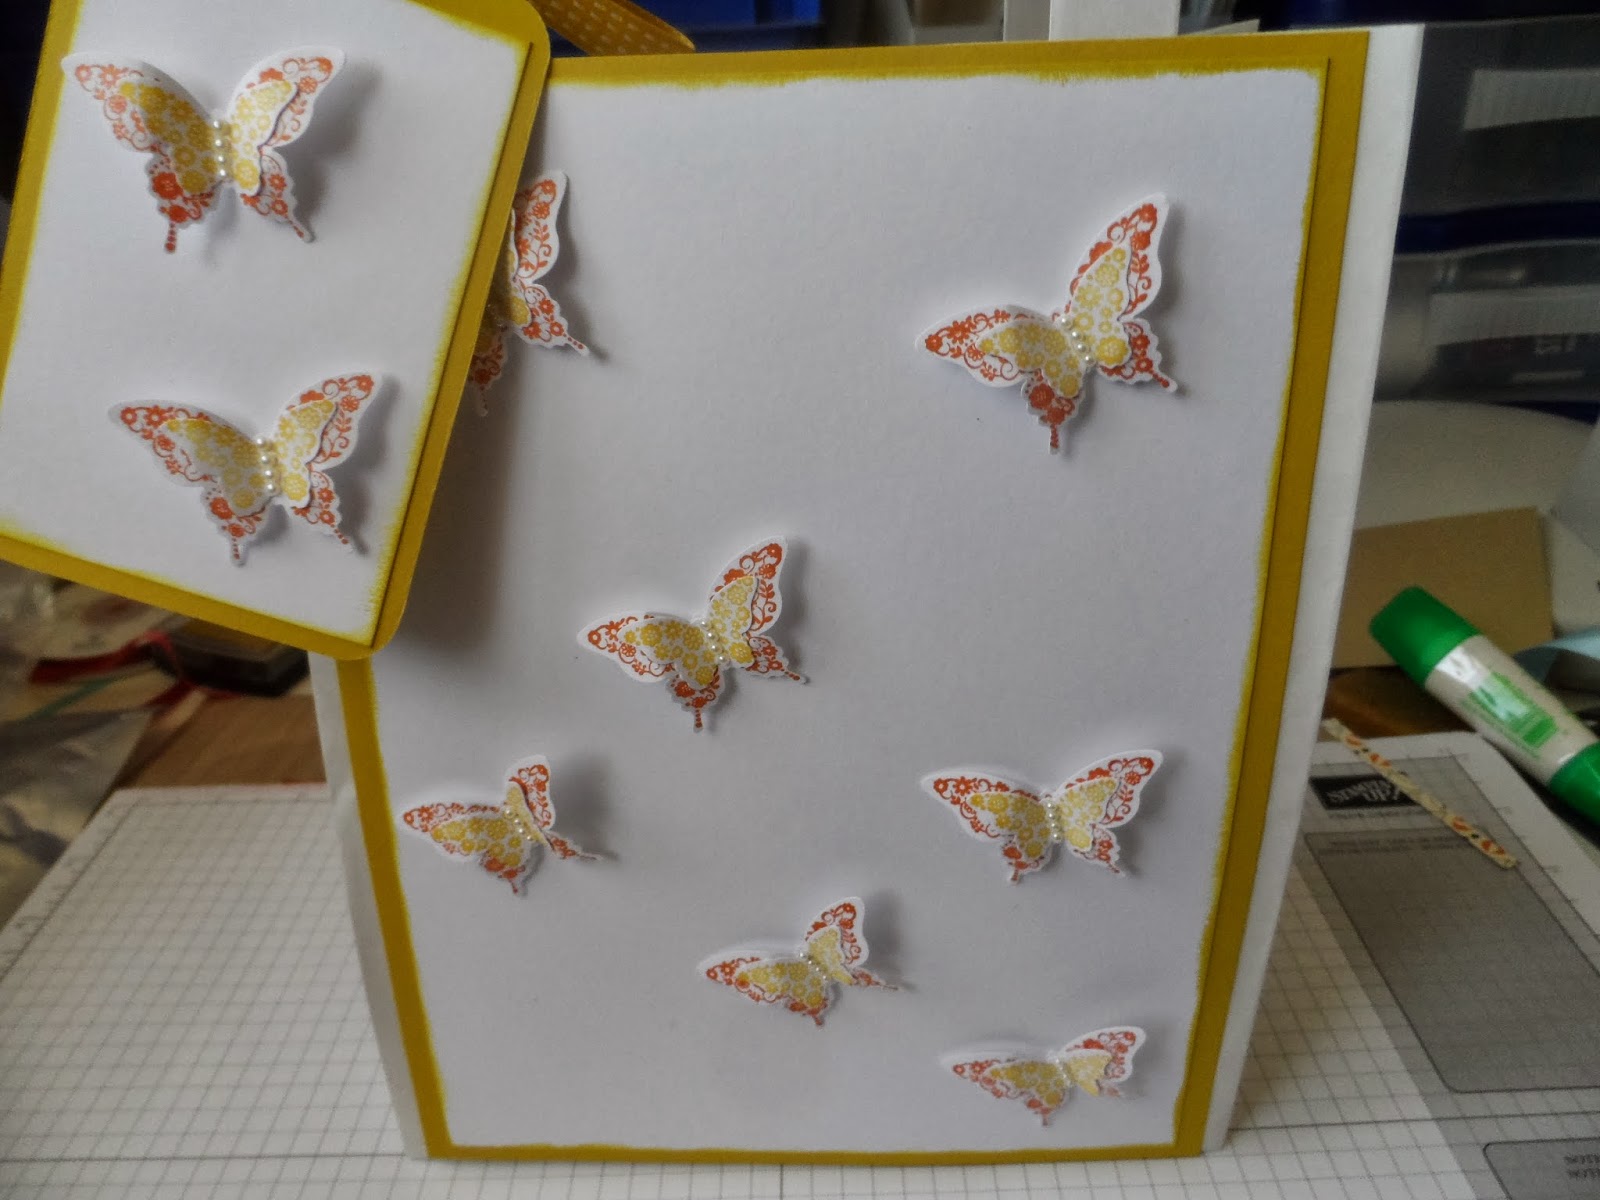
Anyway enough of that silliness and on to today's project which is a gift, gift bag and tag


It uses the lovely papillion pot pourri set in daffodil delight and Tangerine Tango

Heres a closer look at the matching tag


I added some pearls to the bodies of ALL the butterflies


Here's the matching gift using the Tag a Bag gift boxes


Here's a closer look at the flower

Well I hope you like todays offering, if you would like to order any of the items used to make these projects please use the 'shop now' tab

Products used

Stamps
Papillion Pot Pourri

Card
Whisper White
Daffodil Delight

Ink
Tangerine Tango
Daffodil Delight

Accessories
Blossom Punch
 Bitty Butterfly punch
Elegant Butterfly punch
Pearls
Tag a Bag Boxes