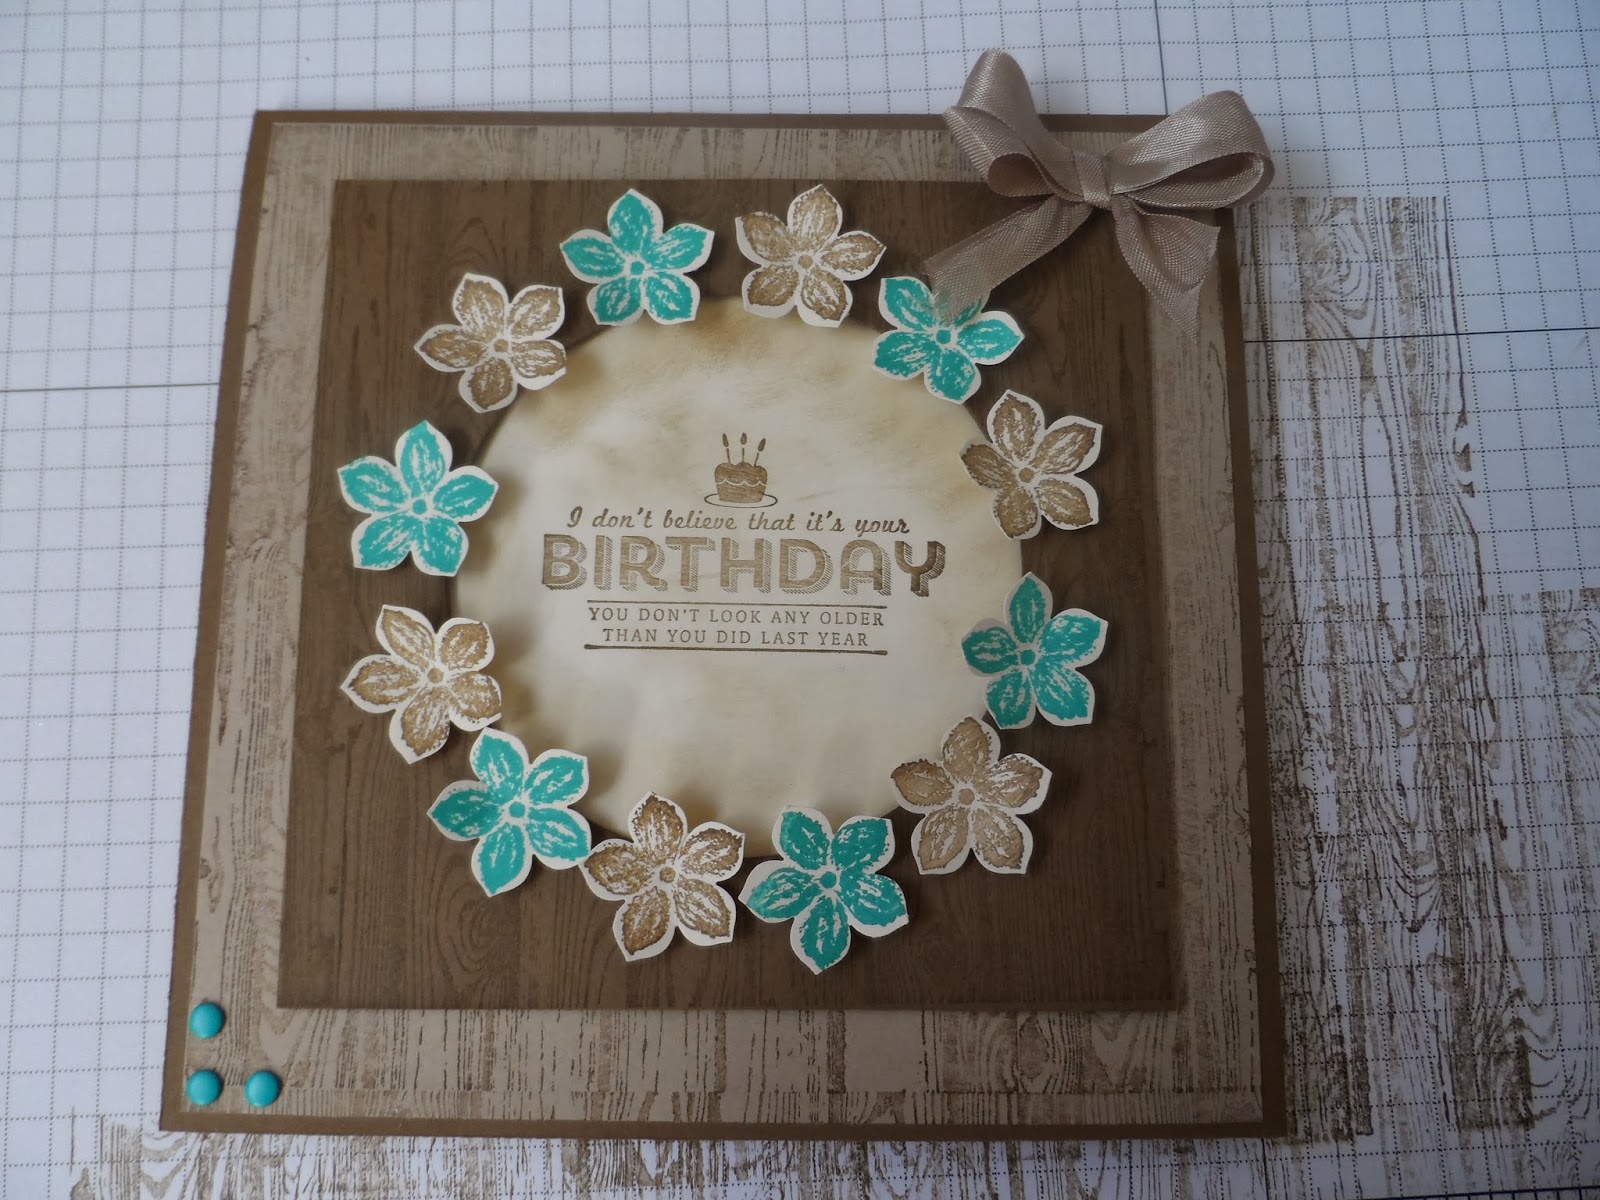
So this is the card;
You will need;
Soft suede card and ink
Crumb cake card
Very Vanilla card
Bermuda Bay Ink
Crumb Cake Seam binding
Hardwood Stamp
Petite Petals stamp and punch
Candy dots in Bermuda bay,
Circle Framelets.
See ya later stamp set
Instructions
First make a base card of 6"x6" in soft suede (if you are unsure on how to do this look on my post for 24 February it explains how to do this)
Cut out two 5 3/4" x 5 3/4" Squares in crumb. Glue one of these pieces to the inside of your card. Stamp the other with the hardwood stamp in soft suede ink. I used my stamp-a-ma-jig to help line it up as the card you're using is bigger than the stamp.
Then glue this layer to the front of your base card
Cut a piece of soft suede card stock measuring 4 3/4" square, stamp this in soft suede using the hardwood stamp.
Using the circle framelets cut a circle in the middle of your soft suede 4 3/4" square card. I used the 7th circle from the middle.
Using one size bigger circle cut out a circle from very vanilla card stock. Stamp this with your sentiment, I used the See Ya Later stamp set for this which is free during sale-a-bration with any order of £45 or more.
Glue the sentiment to the middle of your card.
Add your layer of 4 3/4" square of soft suede card with foam pads
Stamp out some petite petals in soft suede and Bermuda Bay, punch these out and attach them with foam pads around the circle on your soft suede card.
Add a crumb cake bow to the top right hand corner and some candy dots to the bottom left hand corner. I also made this one for valentines day;
If you would like any of these products please click the pictures below which will take you to my shop
Happy crafting
Deb xx
Table built using Stampin' Up! Product Table Builder from The Crafty Owl.


No comments:
Post a Comment